
Unfortunately, you’re not always going to have a fixed Pickleball court. There might not be a court near where you live, or it might be too crowded, or maybe you’re not comfortable enough to play in public yet.
All these reasons are completely rational, but you still need to practice. So, how are you going to do it?
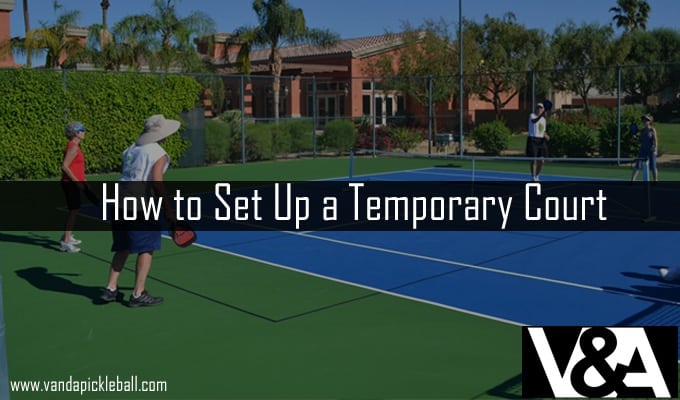
You’re going to set up a temporary pickleball court, of course. This isn’t as tough as you think it is, in fact it is very easy. And we’re going to show you how to do it.
This Is What You’ll Need:
-
- A temporary net
- 3x 25-foot tape measures
- Chalk
- Painter’s Tape
- Any flat, hard surface
 We’re going to be teaching you how to set it up according to the USAPA regulations, so that you can get a feel for the game. But don’t worry if it isn’t perfect, no-one will judge you!
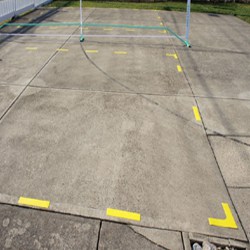
10 Steps to setup Temporary Pickleball Net
Step 1: Go ahead and set up your temporary net. Most portable nets are easy to set up. Don’t worry if the process takes a while at first, you’re still getting used to it!
Step 2: Now, we’re going to measure the outside lines of the court. Use your measuring line, and put it one foot inside of the net. That is the starting point for one side line. Next, pull the tape out to about 22-feet.
Step 3: To measure out the base line, you are going to want the starting point to be a the 22-foot mark of the side line. Then you’ll extend the base line out 20-feet.
Step 4: To get the other side line, all you must do is repeat what you did with the first side line. Place it one foot inside the net and extend the tape up 22-feet.
Step 5: By now, you should have a rectangle made from your three measuring tapes. Of course, you cannot possibly play like that, so take your chalk, and use it to trace out the base and side lines. One side of the court is done!
Step 6: Now, you’ll repeat what you did on the one side, on the other side. Otherwise it will be a lonely game.
Step 7: When you’re drawing the baseline, do yourself a favor, and mark the 10-foot mid-point.
Step 8: Pick up the base line (try and get someone to help you for this one) and walk it down to the 7-foot point one the side lines. Trace the outside of this line, and it will become the non-volley line. Don’t forget to mark the mid-point!
Step 9: You will now use your “base line” tape to measure out the center line. Remember those mid-points you marked? Now, you should connect them with that tape, and mark it with the chalk.
Step 10: Your court is done! Well, almost, just take that painter’s tape and lay it over your chalk lines.
There you go. A wonderful temporary pickleball court in 10 easy steps.
